
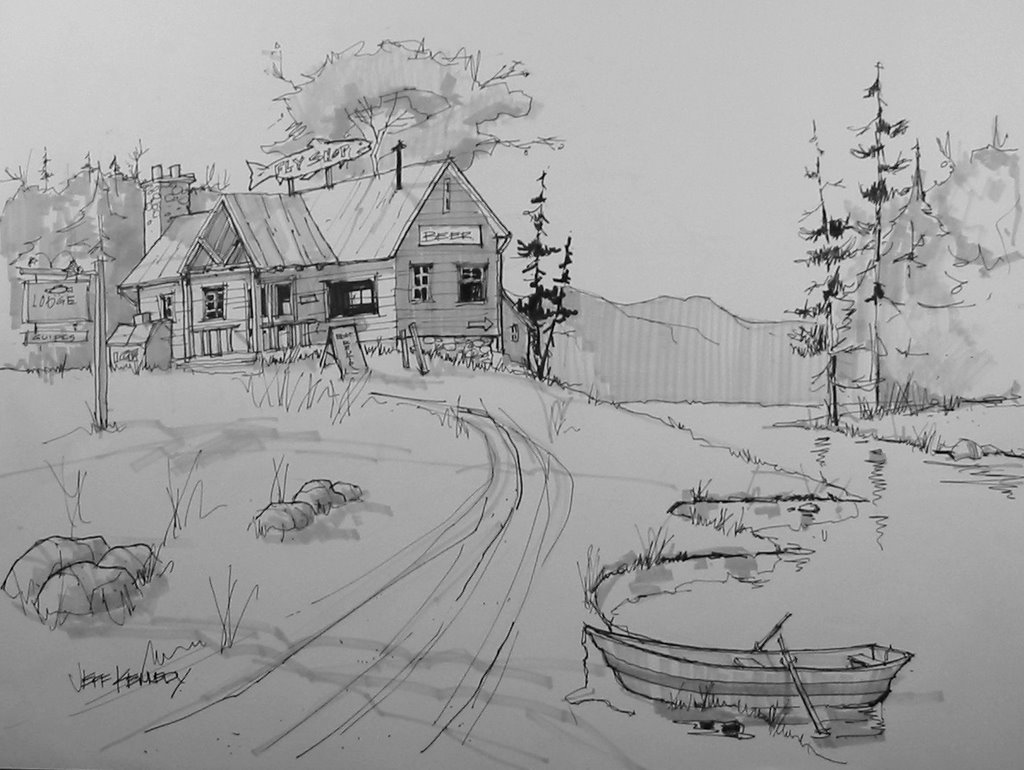
The first step of the process is to create my working sketch. This is completed with black pen and gray markers. My sketches are done in a 18"x24" sketch pad. The composition is from various elements brought together.
 The next step was to pencil in the sketch onto watercolor paper. I used 140 lbs. Startmore Gemini for this painting. I changed the position of the drift boat because I thought it garnered too much attention in the position as shown in the working sketch. I also removed the rocks and changed the contour of the road. I typically sketch on my watercolor stock using a 2B or 4B pencil.
 The next step is very important an often a step painters skip. I created a thumbnail value sketch to guide me in my painting. I will typically do 2-3 quick thumbnail value study roughs trying various value patterns until I find one that fits. I use a 4B and a flat carpenters pencil so I can quickly rough in the values. The value pattern is used was to have a light piece(small) surrounded by a dark shape (medium) on an overall midvalue field (biggest)
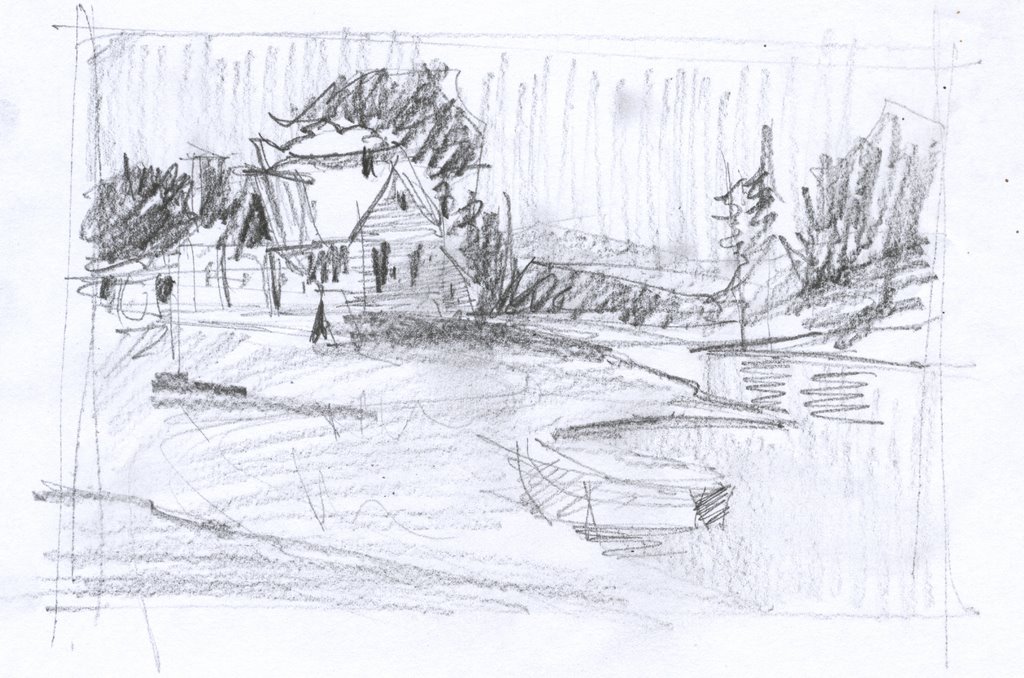
Now that I have a value pattern and my sketch is on my watercolor paper, it is time to get down to business. I thoroughly soak my paper and lay in the sky. I try to limit my time in the sky to 30 seconds. Anymore and I have the tendency to fiddle with it. I tip my paper on end to let the colors blend. I graduated the sky from dark to light. I also layed in the forground field using a large brush. The first steps look ugly, but you try to loosly get color and value in without the detail. Hopefully this will produce a fresh loose painting.

The next step I keep working in the colors and values. Referring to my value sketch. Since the midvalue is the largest, I typically work on this first. I can always go back and darken values if I need to. I try to not go into area more that twice. This helps to keep the painting looking overworked and muddy.
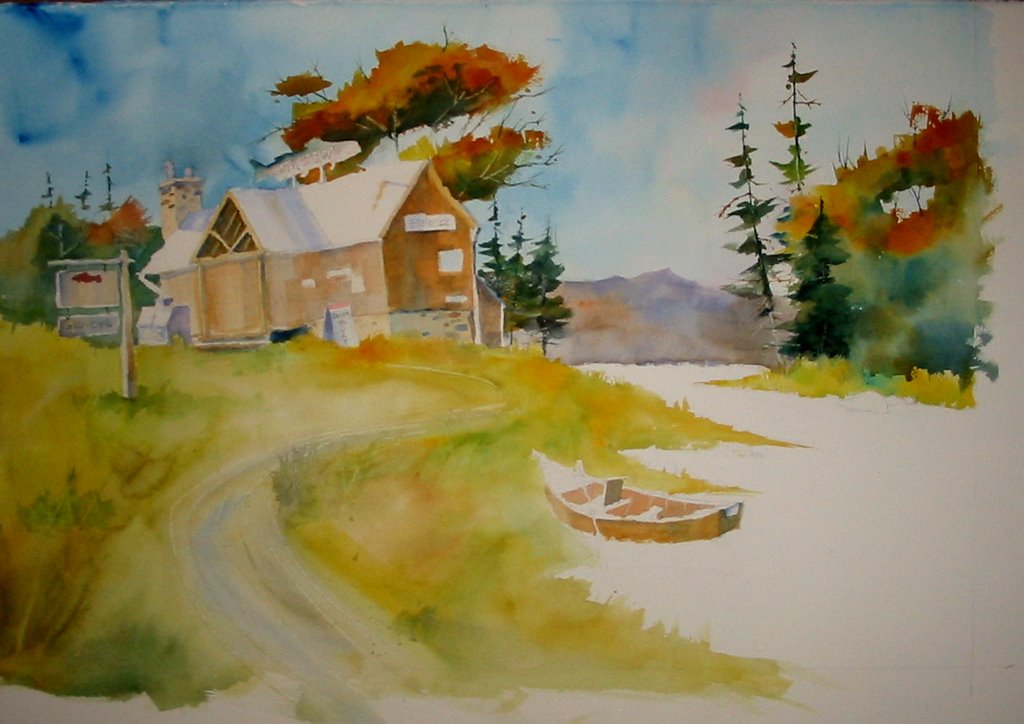
I wanted the painting to have a warm dominance. I contued to work the color and values, then I let the painting dry. The final step was to come in with the rigger and add my lines and my darkest darks. And here is the final.

Now it is critique time. I did not hit the dark values in the trees on the left side. They needed to be darker. The shape of the tree over the roof neede to foil the flyshop sign a bit better. The trees to the left of the fly shop are too similar in size and shape. No variation in size and the angles are similar. I will do this painting again, and try to do a better job with the values and make some additional compisitional adjustments along the way. Stay tuned for the next painting.
